Home of The French Marketplace

La joie c'est le partage
{ the joy is in the sharing }

Showing posts with label DIY Projects. Show all posts

Thursday, August 21, 2014

Chic on the Cheap - A Table Lamp and Vignette


Good morning everyone!
The kids are back in school now, so I've been doing a bit of cleaning as well as catching up on some neglected projects during the little one's nap time.

I wanted to show you this table that I finished.  There is a corner in our living room that's a bit dark when the sun isn't shining in, but the space just wasn't quite big enough for a regular size table and lamp.


While out thrifting one day, I came across this table/lamp combo.
Perfect!!

For just $10, I took it home with me.
I already had a can of Amy Howard paint as well as a burlap lampshade so this turned out to be a very inexpensive project.


Here she is all pretty now, lighting up this little corner.  


Statuary - pulled out of the garden {it's actually one of those things that you hide a spare key in}
Baby Ben Clock - 25 cents
Old Books - already had on hand

Not too bad for a grand total of $10.25 - Chic on a budget!!

Have a great day everyone!
xo and God Bless,
Kathleen


Friday, January 3, 2014

All Because of a Burlap Lampshade


While in the Salvation Army thrift store one day, I came across this burlap lampshade.
I loved it but walked away because really, where was I going to put it?
But then, like I usually do, I walked back over and picked it up. There were lots of lamps just a couple of feet away from this beautiful shade and surely I could look through them and find the perfect one right?


I found it.  I had to look past the orange though and imagine it with a makeover.
{pardon the mess on the table}


I painted the lamp and then added the shade. 
Perfect!  Just how I had imagined.

I put it in our bedroom.  It fit right in with the new makeover in there.  I promise I will show you the room but there is just one more big project that must be completed before it will be "finished."

I will give you a tiny peak into the room though.
Here is my dresser.  Also a 
Salvation Army find that got a French makeover.


The color I was talking about?  You can see a tiny bit of it here to the left of the dresser and also in the photo above...behind the lamp.

I love the color and will tell you all about it in another post!

Have a great day!!

xo and blessings,
Kathleen


Monday, December 3, 2012

Grain Sack Inspired Dresser Makeover


If you have been reading my blog for awhile, you know that I have a real love for old French grain sacks.  I would cover everything with them if I could!

Even a dresser...well, sort of. 
 I found this dresser last week at the thrift store.  I wish I had a before picture of it but I don't.
My husband had my camera with him on a hunting trip and I couldn't wait for him to return to start on this project.  I was just too excited to start painting.  I'll tell you though, it was bad.  Really, really bad.  It was very sturdy and in excellent shape structurally but it had this awful 70's style brown wood.  Not pretty.


Anyway, it has lots of drawers and one of them is divided with little cubbies in it.  Perfect for my craft room storage!  As soon as I saw it, I pictured a grain sack stripe running down the length of it.  When I got it home, I removed the hardware and sanded it down.  Then I painted it white, added some grain sack striping and a hand painted number.  Finally, I distressed it all over with a bit of sanding and then replaced the old hardware with some pretty new hardware from Hobby Lobby.


Et voila!
A new storage piece for my craft room that reminds me of a grain sack.

What do you think?


Have a great day!

xo and God Bless,
Kathleen

Saturday, November 10, 2012

DIY Clay Tags


How fun are these?!!
Just wanted to share a quick project with you...

DIY Clay Tags

While searching the internet for a recipe, I discovered that there were several different recipes out there, each with variations on the measurements of ingredients. Here is what I did and it worked for me:

For these you will need:
1 cup cornstarch
2 cups baking soda
1 1/2 cups water

Mix all three ingredients in a saucepan.  Stir over medium low heat until the mixture thickens.  Once it thickens, pour into a heat proof bowl and cover with a damp cloth to cool.
Once completely cool, turn out onto the counter (or other smooth surface) and begin to knead the clay until smooth.  This is the point where I had to change things up a bit.  The dough was so sticky that I had to add more corn starch to it.  When it was all said and done, I ended up adding almost an additional 1 cup of cornstarch.  Your results may vary so I would recommend following the recipe and then add what you need to knead (no pun intended). 
Anyway, knead until nice and smooth and then roll out the clay just as you would do if making sugar cookies.  Cut out with your favorite shapes, and then you can stamp them if you wish.  I used my French script rubber stamp.  Ink it up with a regular stamp pad and then just stamp your image right into the clay.
Make sure to use a straw, skewer, or toothpick to add a hole for stringing.
Pop these into an oven that has been preheated to 175 degrees.  Bake for 1 hour.  Flip them halfway through the baking time.
Note:  the recipe called for 1 hour, but mine took almost 2.  Experiment and see what works for you.

When they're cool, you can add jute twine or bakers twine or whatever you wish.  Use as tags on gifts or ornaments for the tree!

Enjoy!


xo and God Bless,
Kathleen

Wednesday, November 7, 2012

A Footstool Makeover


I wanted to share a fun little makeover that I did on a Salvation Army footstool.  I found this and thought it would be the perfect stool for our little one to use to step up into her big girl bed.


First, I completely removed all of the old fabric.  The batting was in great condition and so were the springs and horse hair stuffing.  I just re-used them.


I covered the top with some blue and white striped ticking that I had on hand, then made cording and pleats out of  some leftover drop cloth.


Not too bad for just $2.


It inspired a whole new look for our little one's room.  I'll show you that when it is complete!

Have a great evening.
xo and God Bless,
Kathleen

Wednesday, December 14, 2011

A Ballard Designs Stocking Knock-off and...Christmas all Through the House

The windows
are
all adorned...
...the chandeliers too...

the coffee pot is on,
ready to welcome you!

Our hearts are set on home,
no place we'd rather be...

gathered all together to trim the Christmas tree!

*****

We have been busy decorating and fluffing, enjoying this Christmas season.  I've been working on a few projects ~ super simple and inexpensive that I will share.


First up are these stocking I made - inspired by Ballard Designs.  I saw them on the current cover of Country Living magazine...LOVE them but not for $39.00 each!

So, I made my own. 
Very simple really.
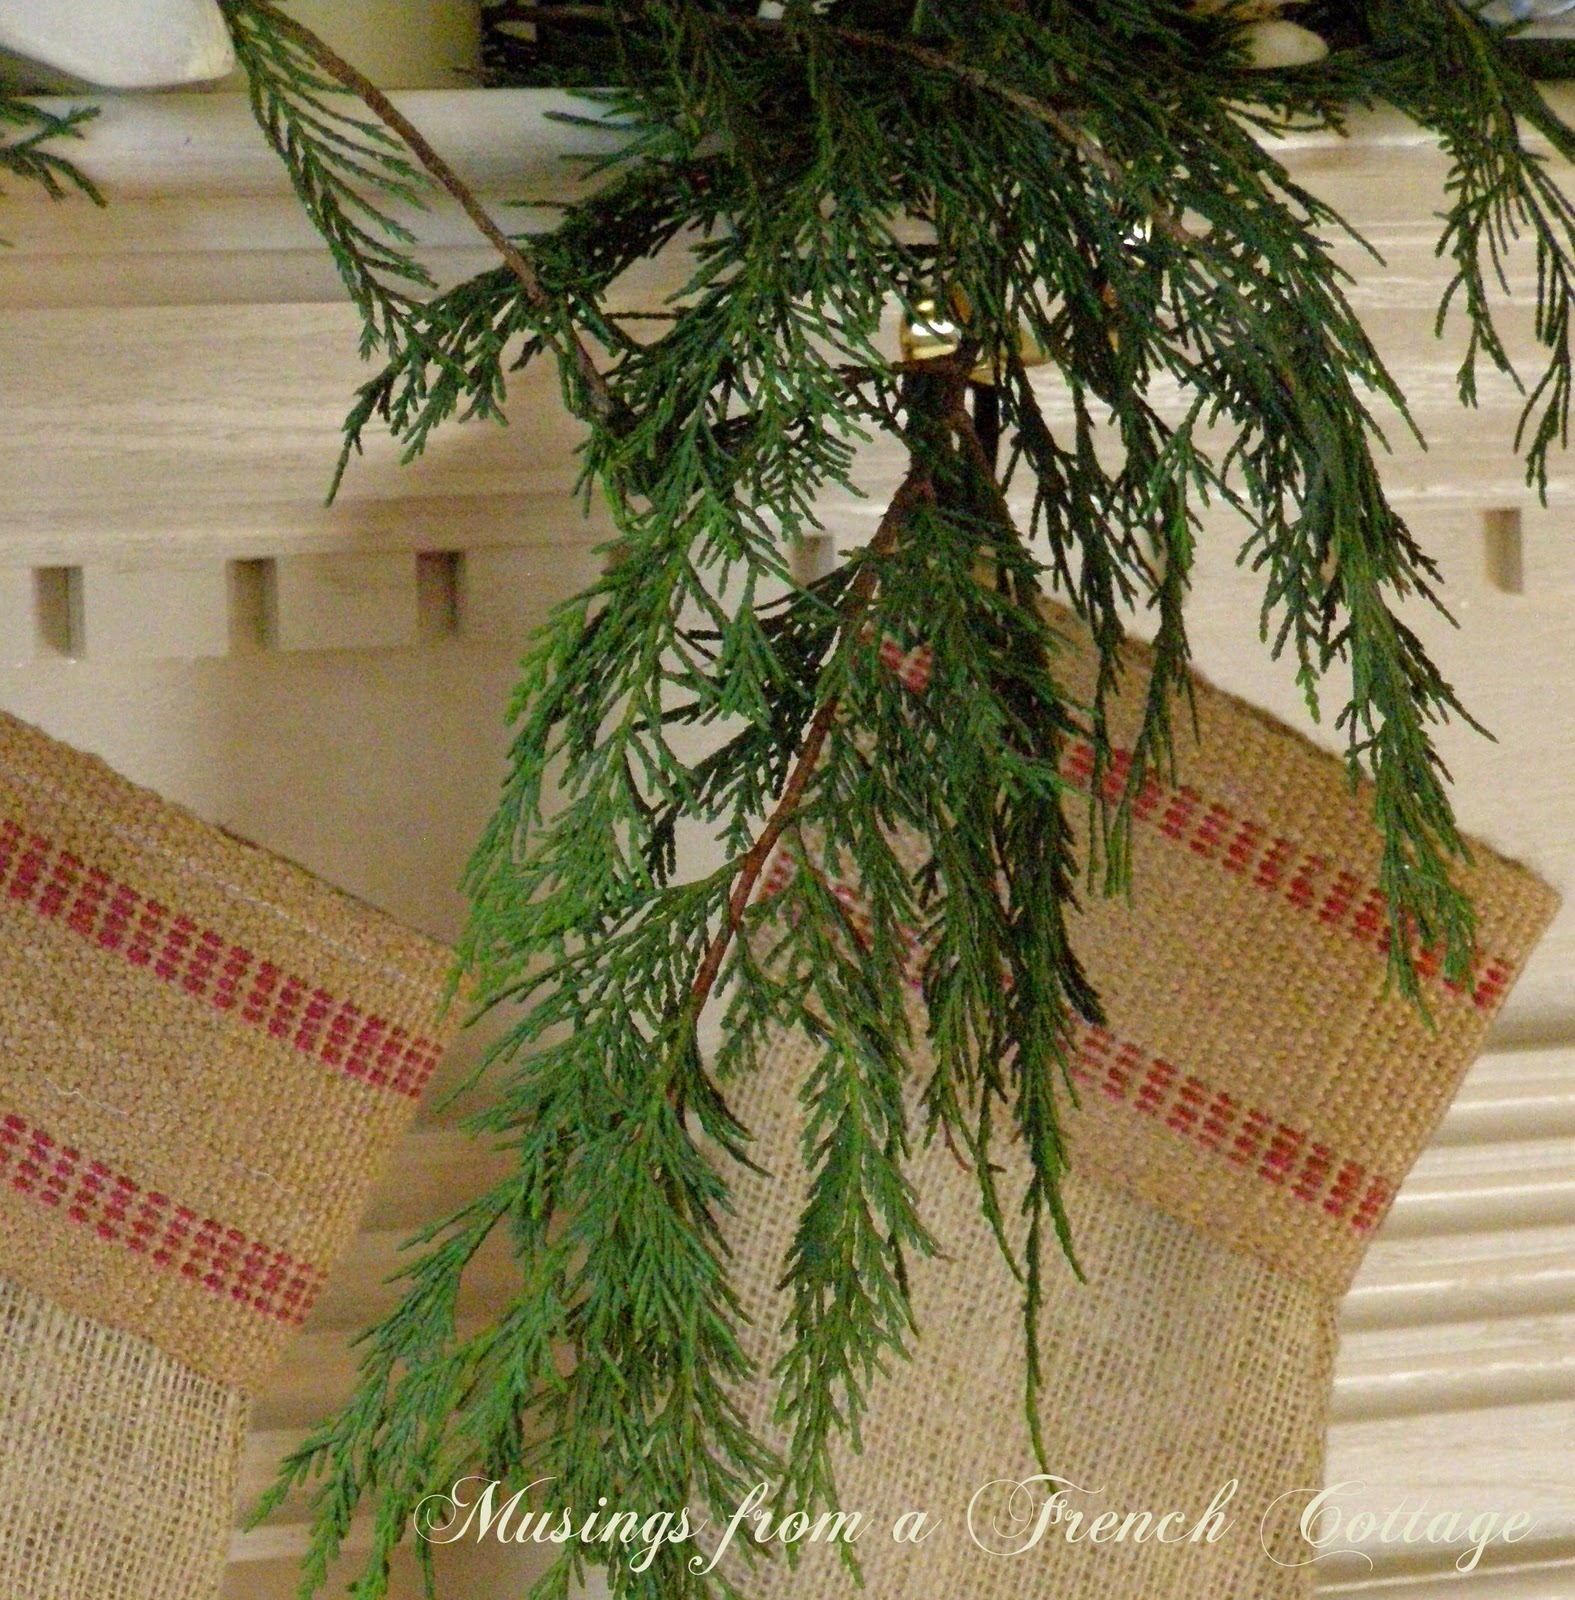
  Take an inexpensive stocking that you can buy at Walmart and lay it out on a piece of burlap that has been folded in half {or freehand it}.   Cut around the stocking so that when you're finished you have two matching pieces.  Sew them up, wrong sides together.  Now turn it right side out and sew a piece of upholstery webbing onto the top edge of your stocking.  Lastly, sew on a loop of ribbon, jute, or whatever you have on hand so that you can hang it.  I used seam binding.  That's it!  For less than a dollar each, you have a pretty Ballard inspired stocking to hang on your mantle.    
***
Another fun project I did were these faux mercury glass ornaments. They're actually plastic and from the dollar store (shhh...don't tell anyone)
They were an unattractive gold color when I bought them.  I simply spray painted them with metallic silver spray paint.  Now here's the cool part about this project.  The plastic and paint that these ornaments are made of don't completely agree with  spray paint.  The silver paint covers it well enough, but it bubbles up here and there creating a look that resembles mercury glass.  I loved the finish that this created.

the ornaments needed a little something paired with them so I also made this chalkboard.  The tray is another dollar store find that I taped off and sprayed with chalkboard paint. 

throw in a pretty glass bowl of citrus

and you have an instant vignette for the kitchen island!
***

Underneath the coffee station in the kitchen, I added this basket of old percolators and tucked in a bit of white pine greenery.


I put a Christmas tree laden with candles up on the mantle.  See the champagne bucket it sits in?  A great French bucket look-alike until I can actually find an old authentic one{I found these for $6.99 at the Christmas Tree Shops}! 

I hope you are having a blessed advent season.
From our home to yours, Merry Christmas!

xo and God Bless,
Kathleen

Wednesday, November 30, 2011

Christmas Bird Decoration Tutorial

First I have to apologize that I didn't have this posted two days ago like I said I would.  I just got a little busy and it had to wait....I'm sorry!

Anyway, on to the glittered bird ornament.  This is so simple really, I should probably call it a "where to find the birds post" rather than a tutorial.

I was at Walmart with my husband last week and he was looking for a few hunting supplies.  While standing there next to him, I spotted this bag of birds.

Only, I wasn't picturing them hanging up in the trees fooling other doves...I was imagining three French hens, two turtle doves, and a partridge in a pear tree...sorry...but you get the idea.

I excitedly picked them up and threw them in the basket, all the while my husband is watching me, wondering what I'm going to do with a bag full of dove decoys. 

I smiled at him and said, "I'm going to put them on the Christmas tree.  Just wait, you'll like them."


They really aren't all that spectacular on their own so this is what I did.
I simply spray painted them white with Rustoleum 2x Painters Touch in Heirloom White.  After the paint dried, I brushed the whole thing with Mod Podge then sprinkled them with clear glass glitter.  Once they dry, brush off excess glitter and clip onto the tree!
(they already have clips attached..or loops of you prefer to hang)

I love them now!

The birds can be found in the hunting section of your local
Walmart.  They're on clearance right now for $9.00 for a pack of six.  They are also sold separately if you only want to make one or two.  They're priced at $1.50 if you buy them individually so the cost is the same.
Enjoy and have a great week!

xo and God Bless,
Kathleen

Tuesday, November 22, 2011

A French Coffee Table

Hello!  Is everyone just about ready for Thanksgiving?  Two more days!!
I have been working on projects like a crazy woman all weekend as well as yesterday and today.  I have completed a lot though.  I painted and finished three tables, finished 3 burlap table runners, reworked our coffee station, hung a menu board, worked on some really cool glittered birds for Christmas decorations(which I cannot wait to show you!!), did a little furniture rearranging and last but not least, I began just a teensy bit of Christmas decorating today.  Whew...that was a mouthful!  I promise you though, I did not ignore my husband or kids...I kind of worked these projects into a bit of spare time .  I typically don't go on project binges like this but I just had too many unfinished things lying around that needed my attention.  It was time to get them done. 
 Okay, I've gotten off track...so back to the French table
I found another wonderful graphic from The Graphics Fairy (love her!)  I have been wanting to paint this on a table for awhile now, but didn't know how to enlarge it without having to invest in an overhead projector or pricey photo software.  Well, as luck would have it, there is a website that will do this for you for free!  Wha??  Free?? 
Yes!  Karen has a complete tutorial on how to do this.  The site is called BlockPosters and you can upload any photo from your computer to be enlarged.  You just decide how many sheets of printer paper you will need to cover your surface and block posters will enlarge your photo into a grid pattern.  Then you print it out, piece it together and voila!  Instant pattern.

So here it is all taped out, ready to trace with my pen.  What you do is rub over the back of your paper with chalk, lay the image down on your surface as pictured above, then begin to carefully trace over the whole thing.  When you're finished, pick up your paper and the image is left behind.  Now you fill it in with a paint pen or a very thin brush and acrylic paint.

Here it is after I finished all of the lettering.  Notice anything missing?  Um yeah, the "DE" in between the first two words.  You see, after I spent a half hour tracing each little letter, flourish and scroll, I excitedly lifted my paper to reveal......a BIG giant smear of yellow chalk.  Yep, that's right.  I couldn't tell one letter from the next.  I couldn't see where one word began and the next one finished and since my hand was about to fall off  a little sore from all that tracing, I just decided to wing it...do the best I could and not worry about whether or not it was perfect.  It's supposed to look old and vintage anyway right?  Since I couldn't see the "DE", no "DE" went in there.  The funny thing is, I didn't notice it right away.  Something was off, but I couldn't quite figure out what it was.
When it was done, I kept looking at it, feeling like something was missing. 


When it dried, I distressed it a bit and then I glazed it.  Despite the missing "DE" I still really like it!  There was a lot of love put into this table and now she's sitting all cozy in front of the sofa in the basement family room.
 
Would you believe it took me two days to figure out that the "DE" was missing?
Go figure!

Have a great week!
xo and God Bless,
Kathleen

Saturday, November 12, 2011

To Market, to Market...Make a French Market Basket

A French market basket, who wouldn't want to have one?  I know I always have but they're quite pricey!
Never fear though, I found out how to make one of your very own.  

You see this basket?  I got it from Joann Fabric's.  It even comes with wheels!  A little bit of craft paint and a little bit of sewing is all you need to transform it.


Now, I didn't come up with this idea all on my own.

No, I found it on someone else's blog and when I saw it, I couldn't believe my eyes.  I was so excited to try it myself that I ran right out to JoAnn's with the kids in tow, to find this basket.  I had all of the paint and fabric at home so all I needed was the basket. 

I wasn't crazy about the green liner that came with the basket so I sewed a new one.  I just used a piece of leftover drop cloth that I had from another project and then made a ruffle for it.

So here it is again, as I found it at JoAnn's

and here she is with her new paint job, a ruffled liner and her wheels!
~ ~ ~
Now, for where I found this amazing tutorial...the fabulous Rosemary from Ozma of Odds!!  She is simply charming and she has a treasure trove of a blog too.  Rosemary has so many beautiful things that she shares with all of her readers and her tutorials are very easy to follow.  I'm not going to re-type the whole tutorial here, but if you go on over to her blog, you will find step by step instructions on how to make one of these baskets! 
I was so excited to find this tutorial!!
I can give you the info though, about the basket in case you would like to make one too.

It can be purchased at JoAnn Fabrics (make sure to take your 40% off coupon though)
here is a direct link to the basket...if you buy it online, it's on sale right now for $19.99
if you buy it in the store, it's full price so take your coupon!
Have fun and go see Rosemary!!

xo and God Bless,
Kathleen