Home of The French Marketplace

La joie c'est le partage
{ the joy is in the sharing }

Showing posts with label fall decorating. Show all posts

Wednesday, October 26, 2011

The Story of a Garden Box

About a month ago, maybe two...I was wandering through a huge flea market looking for an old tool caddy.  I wanted to fill it with all kinds of autumn goodness and then give it a new home as a centerpiece for the dining room table.  Of course, we all know that when you are looking for something very specific, when you can see it in your minds eye...
chances are, you're not going to find it
But I have learned that that's okay.  Something even better always comes along!

You see...

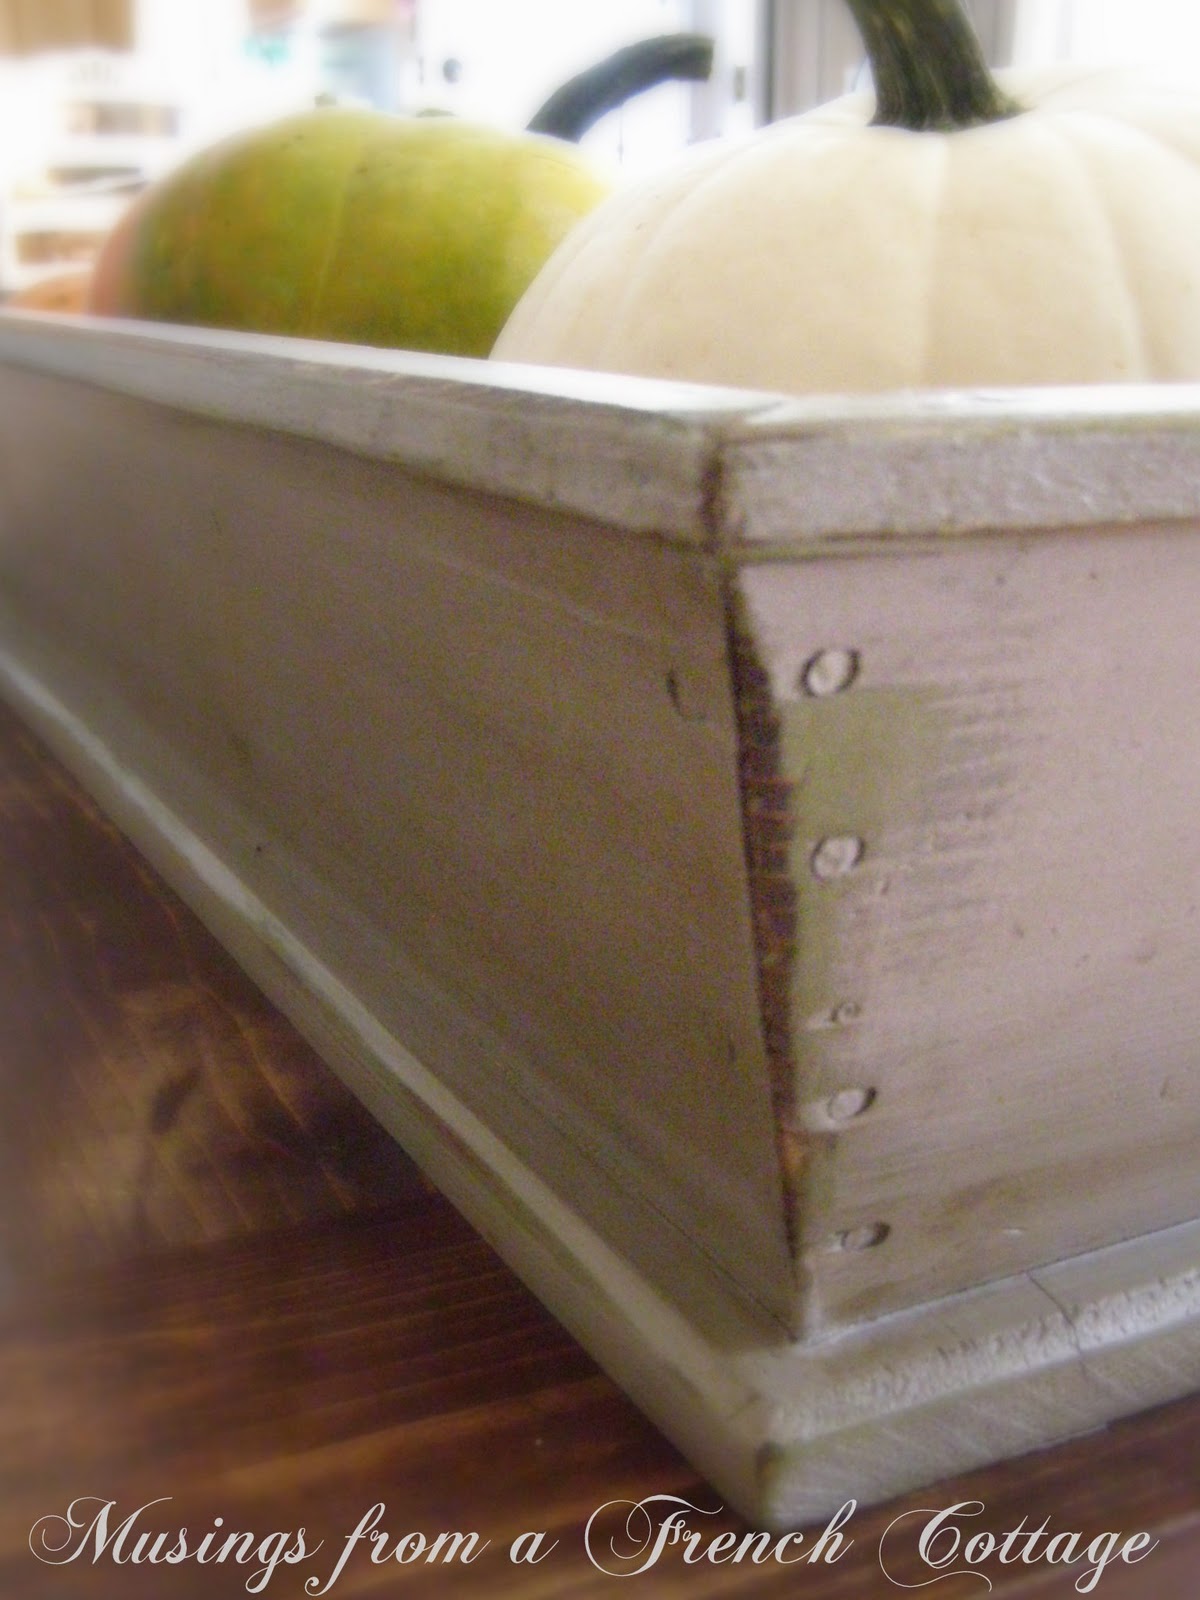
...as I was looking for that very specific tool caddy, I ran right into this.
YES!!
This will do just fine.  Even better.  So it came home with me.
I cleaned it
I painted it
I loved it!
~
I wiped it with stain
I sanded it a bit
I loved it even more!

And here she is...filled to the brim with autumn goodness.
Looking even better than my mind's eye had imagined. 

She landed here on the coffee table while I was making a burlap runner for the dining room table.
Guess what?  Dear husband walked in and said " I love that box right there where it is.  Can we just leave it there?"
Of course!
Because even when we  think we have the best thought out plan, something different just might be better!
Have a wonderful day!
xo and God Bless,
Kathleen

Tuesday, October 12, 2010

A Little Halloween Crafting Fun!


We were very busy this weekend making lots of cool stuff for Halloween. I found some really fun ideas for things to make this year. I have finished several of them and I'm still finishing up even more which I will share in the next day or two.

Two ideas that I came across and completed this weekend are this fall crow cloche pictured above which you can find here
and
this very cool pumpkin diorama pictured below. Click here to see the blog where I found it along with her excellent tutorial. My son and I each made one and had such a great time with it! His is pictured below.
He used an orange pumpkin and did such a great job with it. He even glued on what was left of the skeletons we used to embellish the front. So creative...

I used a white pumpkin with mine instead of the orange. We got those foam carvable pumpkins and cut off the fronts of them. Then we spray painted the insides of the pumpkins black and glittered them well! If you go to The Klucking Bear where I found the idea, she included a great tutorial.

Then we created these mini graveyards inside. I usually don't like the scary in Halloween but rather the whimsical and fun. I go for the pumpkins and gourds and other non scary Halloween/Fall decorations. But with this amazing dollar store project I found, I couldn't resist how fun it looked to make. I thought the skeletons looked more cute than scary.

My son decorated his with really thin cobwebs made with the glue gun - very clever I think!

Here is one of our fun little skeletons we used

We put mine on a shelf in the family room with the crow cloche

and my son's sits proudly on the hall table for all to see when they enter.
For tons more creative fall projects, be sure to visit Tatertots and Jello!! You'll be so glad you did. Have a great day!
~~
xo and God Bless,
Kathleen

Thursday, October 7, 2010

Paper Cone Wreath

Remember the project I told you I was working on using sheet music? Well, here it is! I saw this for the first time in early spring. Someone found it somewhere else and showcased it on their blog. Unfortunately, for the life of me I can't remember where I saw it first. I did however see another one on another blog here. Anyway, I tucked the image of the wreath away in my memory so that one day, I could try to make one too.
Then, more recently, I saw in Romantic Homes magazine where they published Lidy's directions on how to make a paper wreath. I remembered my desire to try to make one of my own, only I wanted mine to be made out of cones instead of rolled paper - just like the one I first saw.
So, I got to work.

Here is how I made my version of the wreath:

First, you're going to need to gather a few supplies. You'll need the following:

sheet music
ribbon
something decorative for the center medallion
(I just used my paper circle punch to punch out scrapbook paper)

floral pins

styrofoam disc


The first thing you'll do is make lots and lots of paper cones.


Once you've made the cones, start placing them on your styrofoam disc and attach with floral pins.
I started by placing them at the 12, 6, 9 and 3 o'clock positions on the circle

then you begin filling in the empty spaces

keep filling...

and filling. They don't have to be exact or perfect. Just randomly place them wherever you see an empty space.


After you're all finished placing the cones, flip the whole thing over and use a floral pin to attach a ribbon to the back of the foam for hanging


Now, flip it back over the right way and add a medallion to the center. This will cover the area where all of the cones intersect and it will hide all of the pins. I just used a hot glue gun to glue it in place.

Great!!
You're all finished and now you're ready to hang your wreath wherever you desire!
I put mine in front of the antique mirror hanging above our fireplace. It goes nicely with the fall decor and I think it will work with greenery and mercury glass at Christmas too! All I'm missing now is the burlap banner that's in the works. More to come on that later.
~~~
Happy creating ~ I hope you enjoyed this little project!
~~
xo and God Bless,
Kathleen
~~~
I'm linking up with Cindy at My Romantic Home for Show and Tell Friday
and
Kathleen at Faded Charm for White Wednesday

Wednesday, October 6, 2010

A Little More Fall...And...Starting a New Project!

I did a little more decorating for fall...
Isn't this a neat pumpkin? I saw it for the first time ever here and really wanted to try and find one. Find it I did and I love it. Around here, they call them peanut pumpkins!
I even threw in a little orange too.


~~~~
And last but not least, I'm doing a fun project to add to the fall decor.
Here's a little sneak peak...
it has to do with sheet music!
I'll show it to you when it's done (I'm hoping to finish today) and I'll show you how I did it.
Have a happy fall day everyone!
~~
xo and God Bless,
Kathleen


Saturday, October 2, 2010

A Little Fall Decor


Well, today feels like fall and so I've been really decorating. I especially love the white pumpkins and prefer to use those over the orange ones.


Here is a white one and a tan one all nestled snugly inside my french galvanized bucket

a white taper in a glass carafe

love this bucket!!

as you can see, the dining room has a tad more color in it and I added a few little baby boos in there {love that name for a pumpkin}
I like the neutral white with the red.

they're so tiny...

what could be better than old, tarnished silver, ironstone and chicken wire?

Here is an old metal bottle carrier that my rooster is keeping watch over

a few more white pumpkins...

yes, I know...i do love the bottle carrier
can you tell by the number of photos I've taken of it - haha!
Oh well...gotta get every angle...
and finally, some more baby boo pumpkins in the kitchen window.

Now, I'm not anywhere near finished but I wanted to show you what I've done so far.
Happy fall!!
~~~

Oh, just a little side note...totally off subject...
but today is the day exactly one year ago that we found out we were having our very first little girl. You can see the post here.
Can you believe it's already been a year??!!
My how time flies...look at her now
she's 7 months old


Have a great weekend!
~~
xo and God Bless,
Kathleen